
In the name of God, Most Gracious, Most Merciful.
In this article i will describe "How to upgrade Oracle Database Release 10.2.0.1 to 10.2.0.4" on Red Hat Linux 5.3 OS. For this you have to download patch number 6810189 from Oracle Metalink site.
In this article i will describe "How to upgrade Oracle Database Release 10.2.0.1 to 10.2.0.4" on Red Hat Linux 5.3 OS. For this you have to download patch number 6810189 from Oracle Metalink site.
Export ORACLE_HOME and ORACLE_SID environment variables
export ORACLE_HOME=/u01/oracle/product/10.2/db_1
export ORACLE_SID=db10g
Stop Oracle Instance
$ isqlplusctl stop
$ emctl stop agent
$ /u01/oracle/product/10.2/grid/oms10g/opmn/bin/opmnctl stopall
$ sqlplus / as sysdba
shutdown immediate;
exit;
$ lsnrctl stop
Backup the control files, data files, redolog files, undo files and spfile.
Run Installer as follows
$ /u01/p6810189/Disk1/runInstaller
 |
| Figure - 1 |
Click Next
 |
| Figure - 2 |
Select Oracle Home and Path to Upgrade and Click Next.
 |
| Figure - 3 |
Click Next.
 |
| Figure - 4 |
Click Next.
 |
| Figure - 5 |
Review the Summary Information and Click Install.
 |
| Figure - 6 |
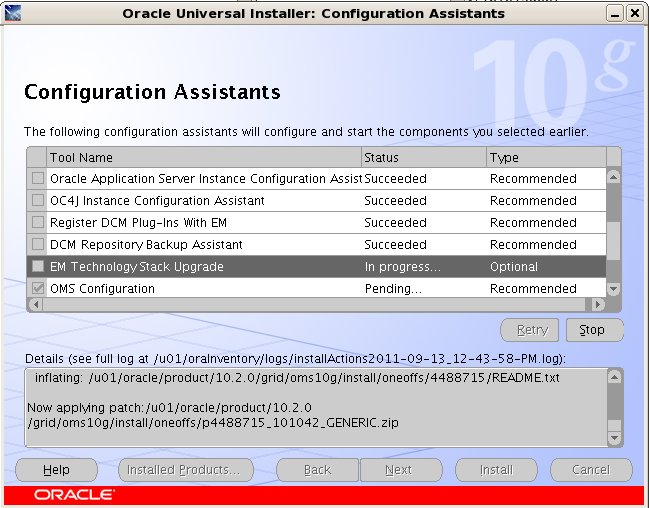
View Progress.
|
| Figure - 7 |
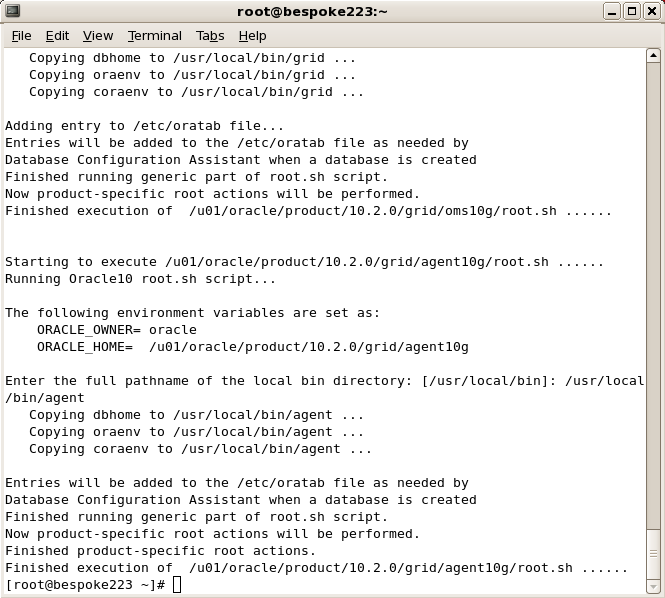
Open a new terminal, login with root user and run the script above. After that click Ok Button
 |
| Figure - 8 |
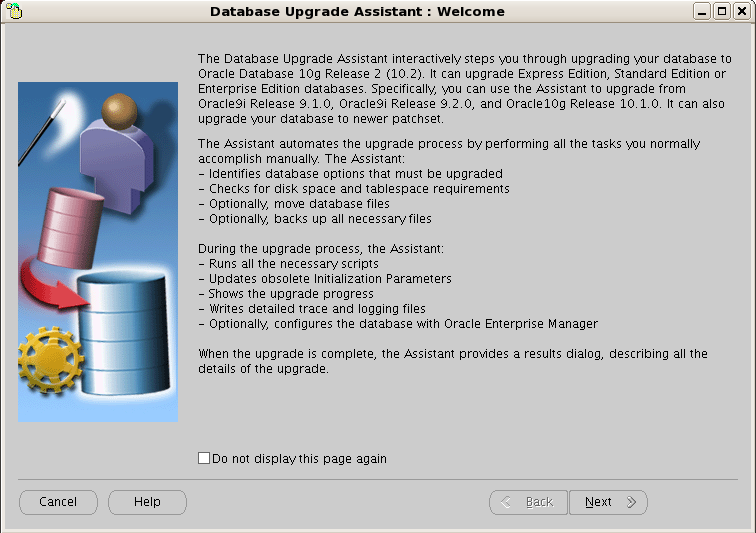
Click Exit to Finish Installation. On a terminal window login with oracle user and run dbua command
$ dbua
 |
| Figure - 9 |
Click Next.
 |
| Figure - 10 |
Select the database you want to upgrade and click Next.
 |
| Figure - 11 |
In this scenario although it is not required but select "Move Database Files during Upgrade" and click Next.
 |
| Figure - 12 |
Click Next.
 |
| Figure - 13 |
If you have multiprocessors that you can select a higher degree of Parallelism to speed up compilation process. Click Next.
 |
| Figure - 14 |
If you have already backed up that database then Click Next. Otherwise choose "I would like this tool to back up the database" option and Click Next.
 |
| Figure - 15 |
Select Flash Recovery Area and Size and Click Next.
 |
| Figure - 16 |
Review Summary and Click Finish.
 |
| Figure - 17 |
View Progress.
 |
| Figure - 18 |
View Progress.
 |
| Figure - 19 |
View Progress.
 |
| Figure - 20 |
Upgrade Results are displayed.
Insha-Allah this will help and serve the purpose. For any corrections and improvements please suggest.


